
The Mummy Chicken| Adventures in Homeschooling
So we’ve gotten into our homeschooling rhythm and what’s funny is that what I thought would be our favorite subjects are the toughest to get through! What I thought would be the least loved subjects are those that are the most favorite. Take history for example; I wasn’t sure how history was going to go this year. I knew I was going to fill it with hands on learning and activities. I needed that because that’s the only way I can learn history and have it stick. This is why I picked a program that included incredible stories and real world application. We chose The Story of the World and we started with the ancients. We’ve done archaeology digs, cave paintings and even written our name in hieroglyphics.
This past week though… enter DINO, the mummy chicken! Ya’ll, I have been waiting on this moment and talking about this moment to just about anyone who would listen since we decided to homeschool back in like June!
Yep, you read that correct…a MUMMY chicken! I went to the grocery and I bought a whole chicken, the kind you roast and makes the house smell delicious; except my intent was NOT to provide a delicious family meal. Nope, my intent was to salt it and leave it in the garage for 6 plus weeks following some strict directions and show my kid a hands on approach to mummification like the ancient Egyptians! I prepared my lesson, we talked about Canopic jars and Pharaoh’s and the whole deal! I had my supplies and I waited until all our other subjects were finished so we would have plenty of time to talk about this and dive in!
I totally thought Linc would be super excited and WAY into it. I mean I WAS/AM way into it. I love mummies and ancient Egypt and when would you ever have the opportunity to do this?!
Well.. Once we got started his excitement went from let’s do this to, OH MY GOSH I’M GONNA PASS OUT! ;).
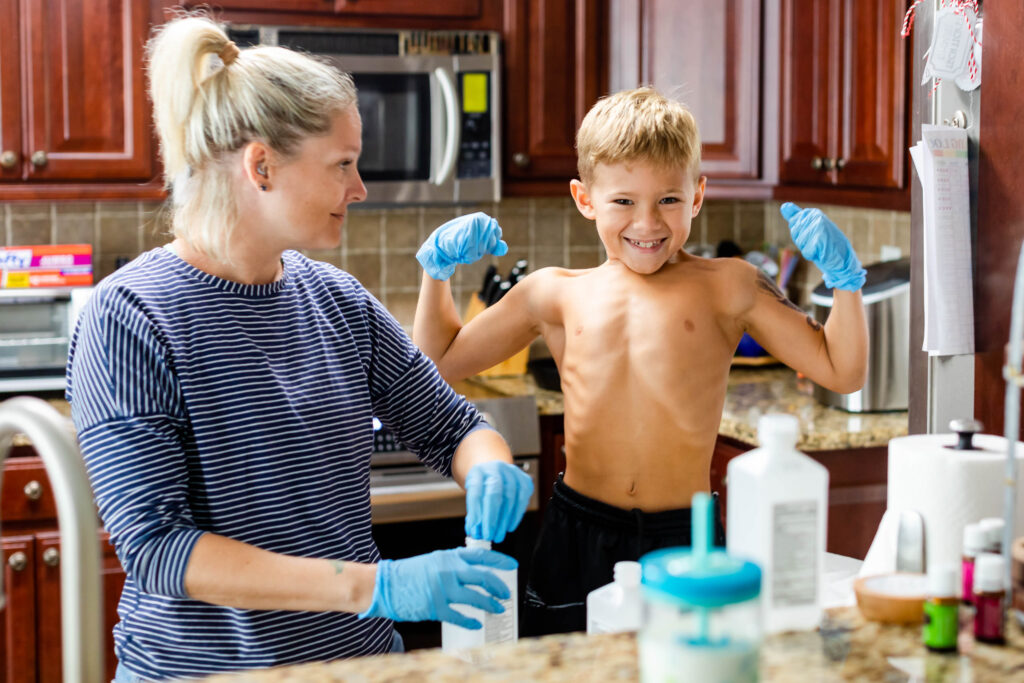
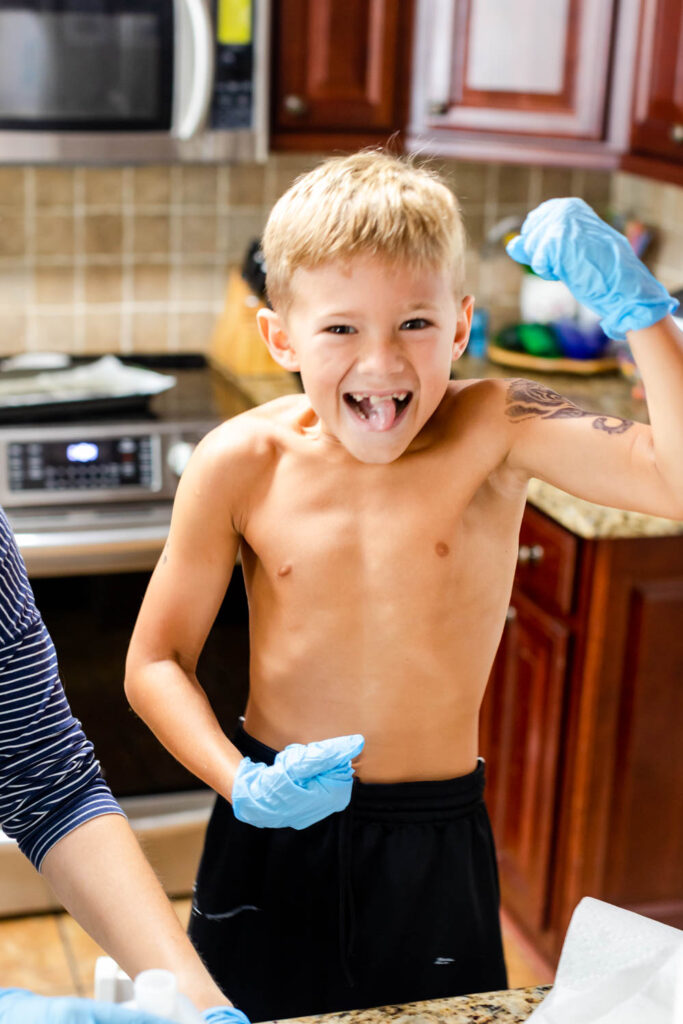
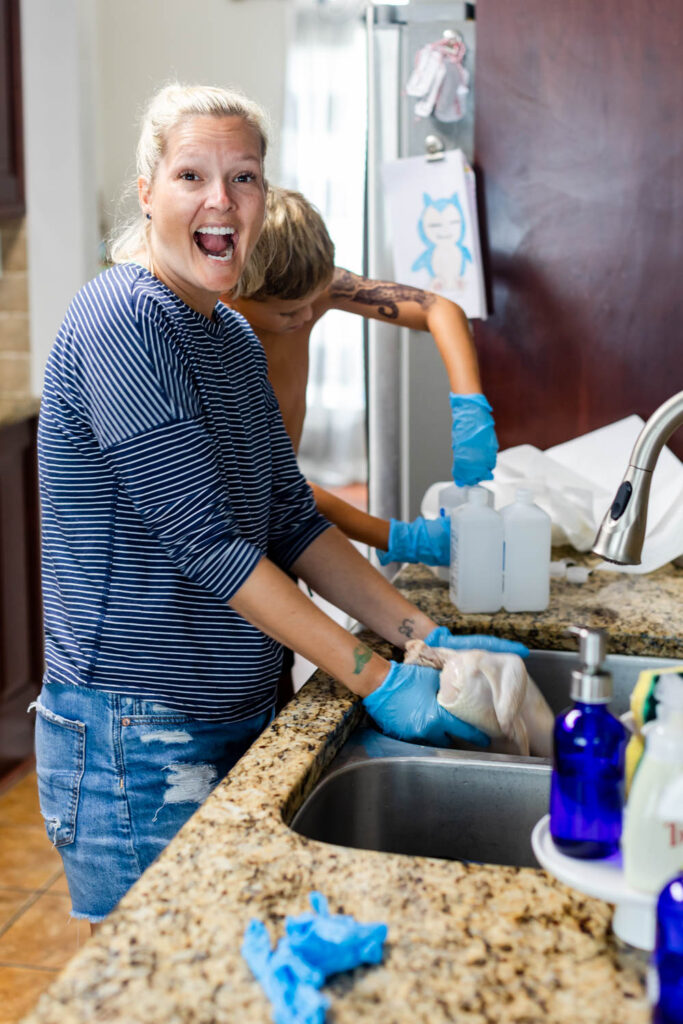
See… here we are all excited! He was like YES I got this, look at my muscles, look how tough I am… I’m AMAZING….
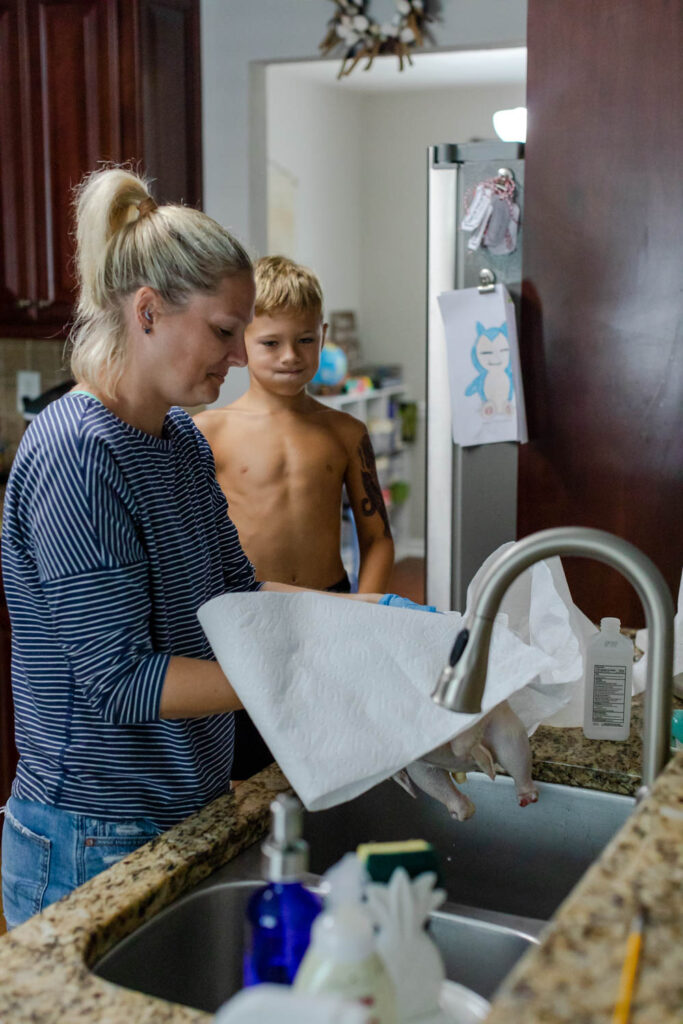
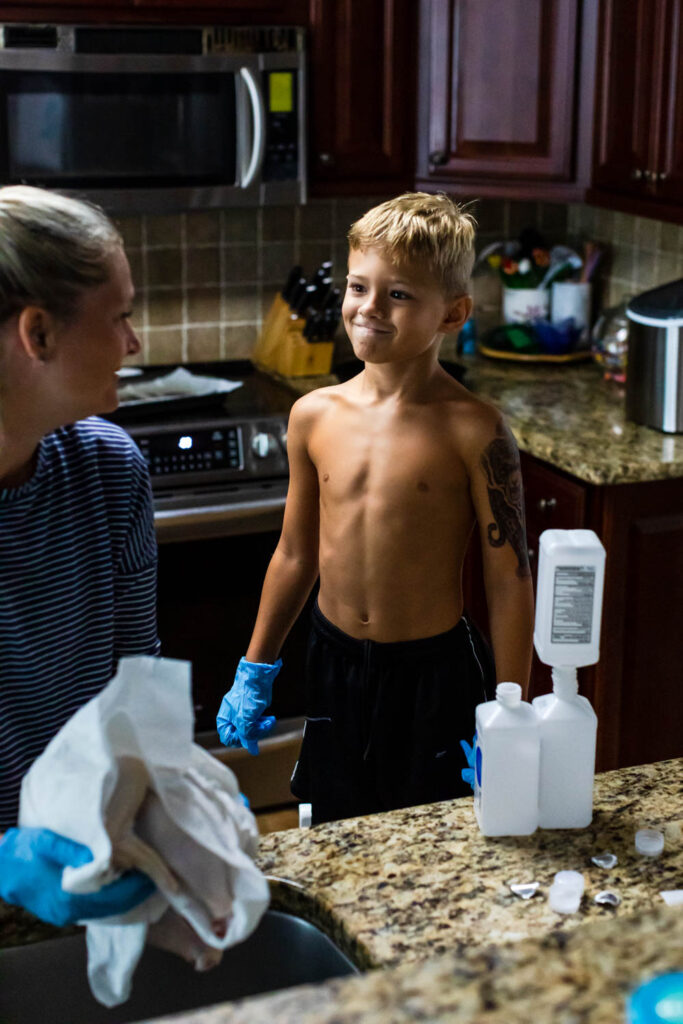
Then…. when I unwrapped the chicken and had him help me wash/bathe it in the warm water (because our chicken “Dino” was a revered pharoah) he saw it’s “toes/ toenail” and some of the marrow where it had been bleeding and home slice HIT THE DECK!
There was allll kinds of drama up in our house with gasping breath and OH NO THE BLOOD… I can’t! Let’s just say, I doubt Linc will ever become a doctor!
So, how do you make a mummy out of a chicken?! I’ve had a LOT of questions about this from friends and family! I’ve had lots of people ask me to please document this process so here we go:
- Get yourself a nice big chicken from the grocery store!
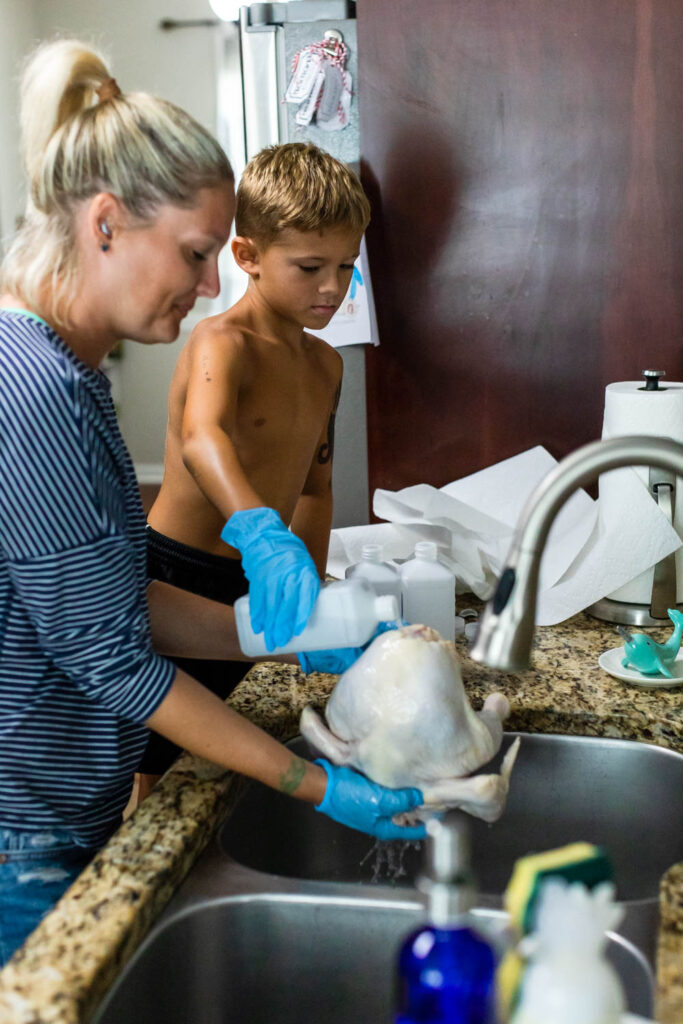
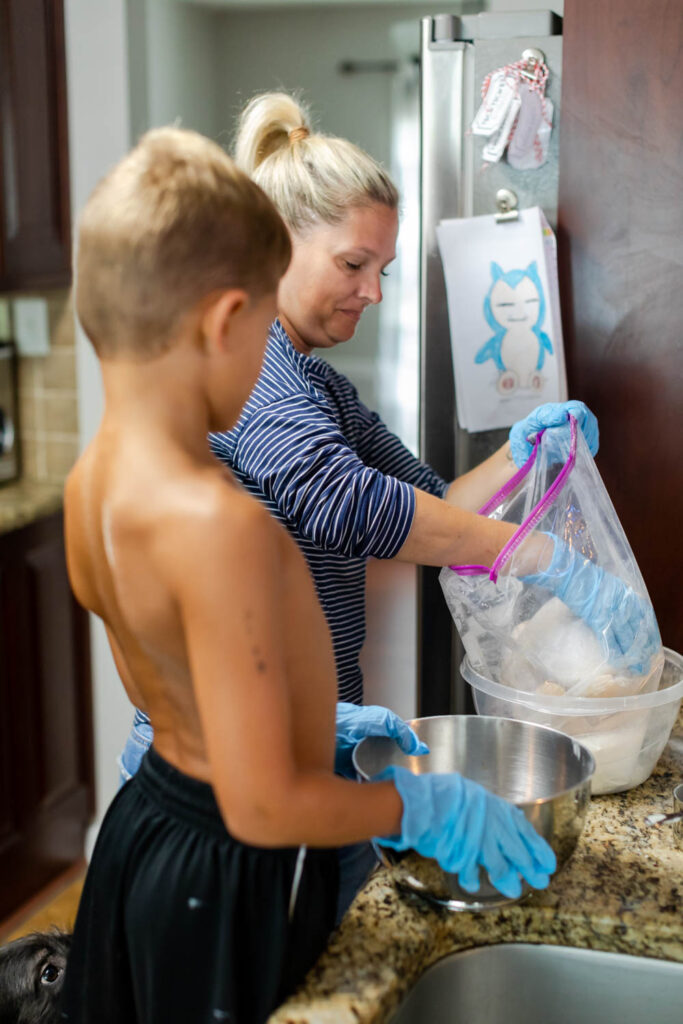
- Put your gloves on! Linc and I had a long chat about how chicken carry germs like salmonella and how those germs specifically can make you very sick. This means don’t touch ANYTHING, especially your face!
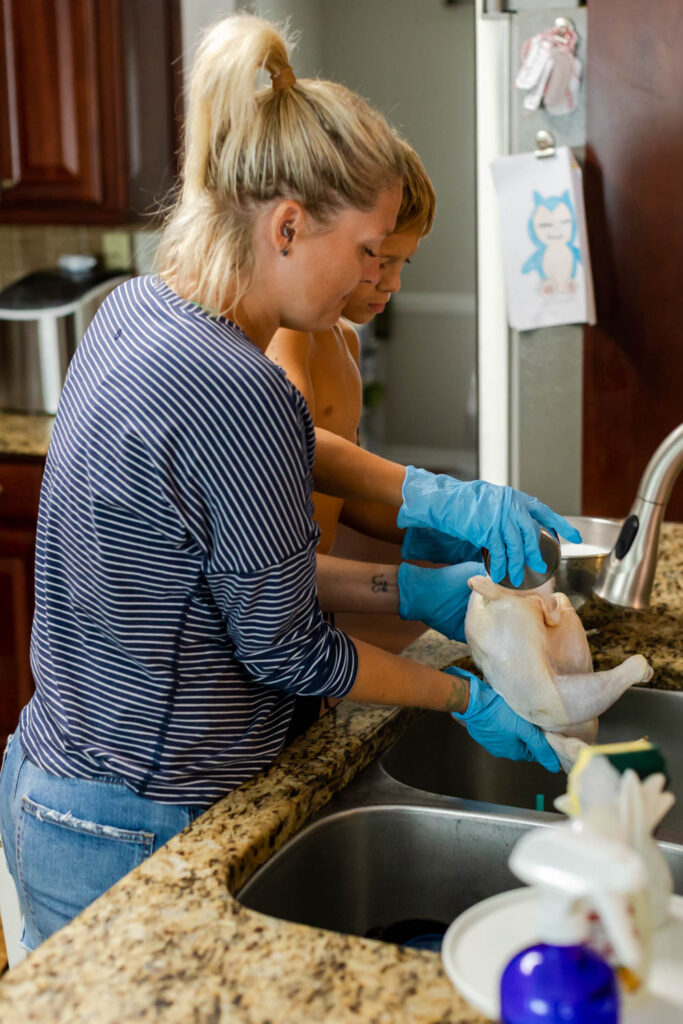
- BATHE the chicken lovingly (I kid, I kid… but not really). In the story we read the “mummy” used to be a King so Linc wanted our chicken a.k.a. DINO to be King as well. So we treated our chicken with love and respect and bathed him with honor! The water should be very hot!
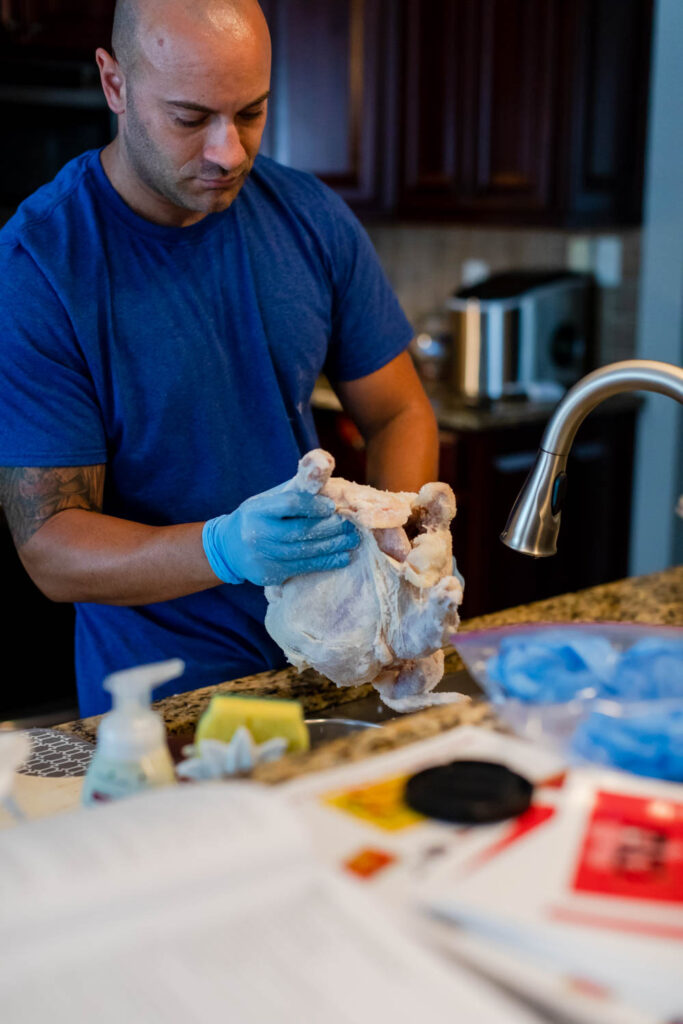
- Pat the chicken dry and then BATHE again with Alcohol! ** Two little helpful tips about this step. First, we forgot it and dried our chicken out completely and had to go back. Don’t do that! Two: HOLY SMELL! Linc and I were overwhelmed with the smell and kept coughing! Be prepared because we used three bottles of alcohol (tiny bottles) to wash our chicken and woah! Make sure to get inside the cavity really really well!
- Dry your chicken with paper towels! I put mine on a baking dish and just sat it in the oven with paper towels to dry. DID NOT TURN THE OVEN ON… just let it sit for like 30 minutes to dry off. Your chicken needs to be super dry for the next part.
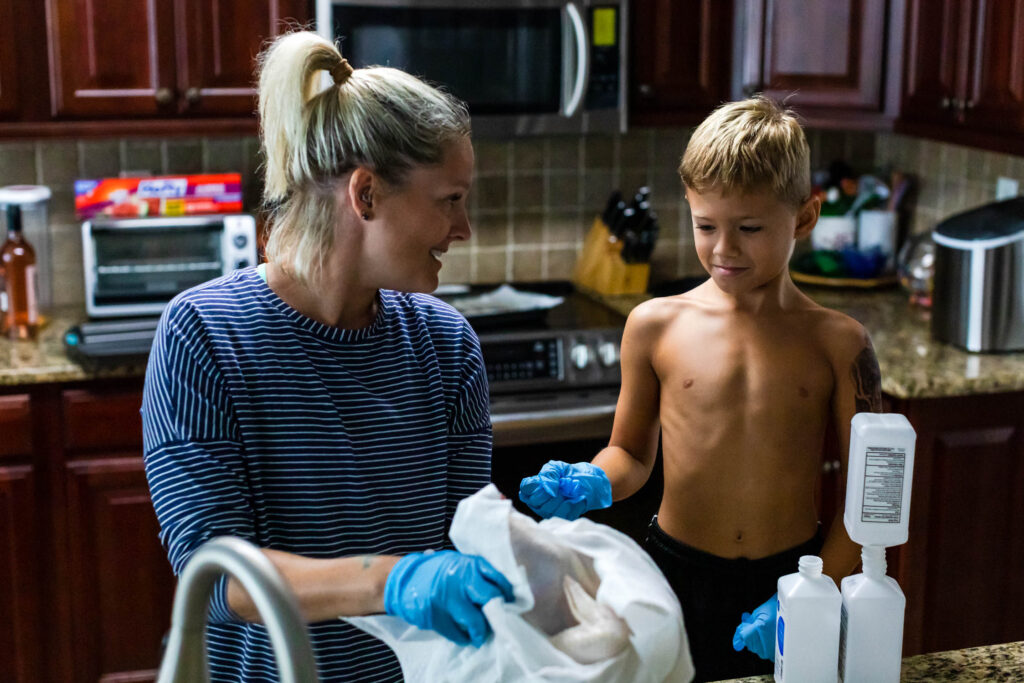
- Linc and I gloved up again for the SALTING! MIX baking soda, baking powder and SALT (we have already used 8 boxes) Pour the mixture into the cavity of your mummy chicken. Make sure the cavity is completely filled. Then place your mummy chicken gently in a large plastic bag (we set our bag inside a bowl to help) then cover the chicken ENTIRELY with your salt mixture and if you need more salt pour on some more plain salt. This took another whole box of salt for us. Tie off the bag making sure it’s completely sealed and we placed DINO in the garage.
- Check mummy every day for the first week. If the salt is wet… repeat the salt process~
This is Day 2 and the rest of the week of Dino the Chicken Mummy… we only had to change the salt 3 times!

I made Tuck come in for the salt exchange! 😉
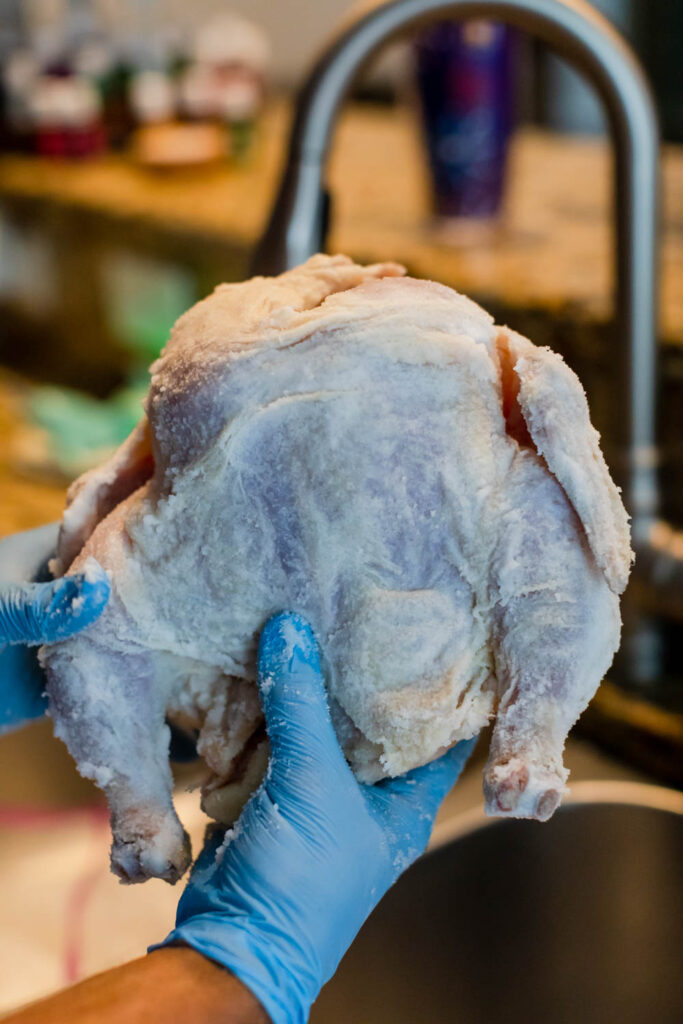
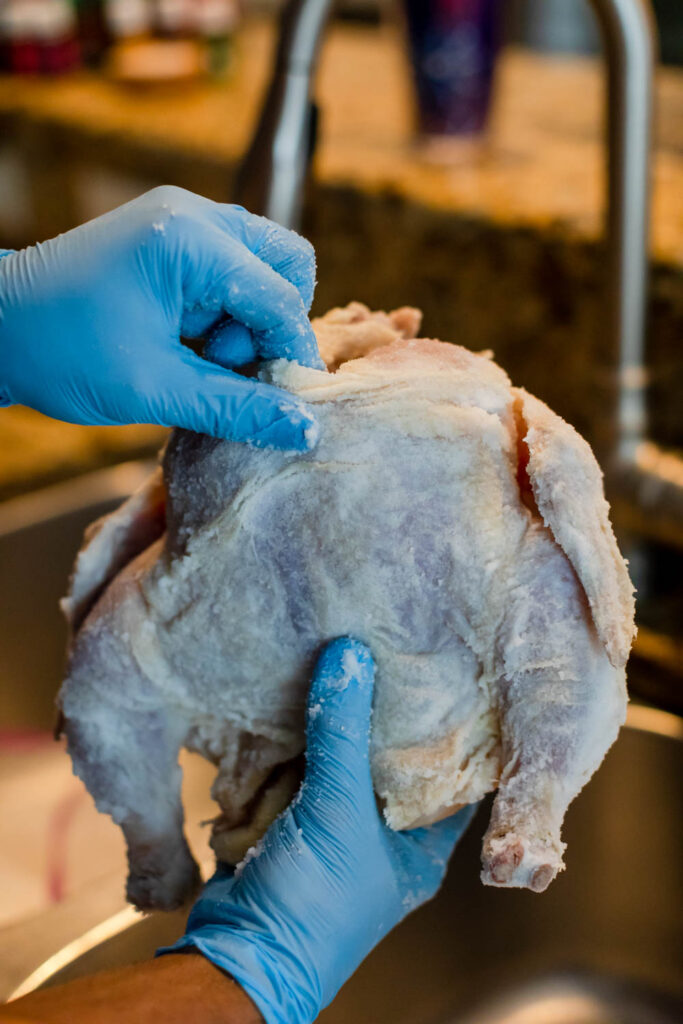
So Dino is already getting a bit whiter in color. There is still no smell which is awesome (and shocking!). The next few weeks we just continue to check on him and change his salt! We will keep you posted! We still have 5 more weeks to go!
Linc’s attitude so far regarding Mummy experiment:
- Day 1: Super Excited
- Day : 1.5 Grossed out… mad at mom…. hates the sight of blood…. still ate chicken that night for dinner!
- Day 3 & 4 : Refuses to check Dino Chicken Mummy by himself and makes dramatic woah is me noises when it is mentioned!
In the meantime, I’ll be over here watching the Mummy with Brendan Fraiser because now I need to figure out how we’ll design a cardboard sarcophagus to put this thing in once we are finished!


I like my chicken salted, but not quite that much! Looks like Dino will be ready for Halloween dinner, LOL
HAHAH! We love chicken salad too! I think Dino will be ready for Halloween… He’s getting close!!!!
I read this entire post to the family at dinner the other night. It inspired quite a conversation. My two home-schoolers were very impressed. We are on the lookout for updates!❤️
Hahah! It’s a fun one but it takes time!